Why do your drivers fail to install? What is error 43, and why do you experience it? Do you need a new gpu? — All common questions among Nvidia-based newcomers to passthrough gaming. Hopefully, we can provide an adequate explanation of these issues.
Read Also: Using nvidia-xrun for Dynamic Intel + NVIDIA GPU Switching on Linux
Applying the Workaround Manually
sudo EDITOR=vim virsh edit win10
First, set a vendor ID as shown below, the string under value= can be anything you want. Insert the following line in the hyperv section:
<vendor_id state='on' value='123456789ab'/>
Second, instruct kvm to hide it’s state by adding the following code under the hyperv section:
 <kvm>
 <hidden state='on'/>
 </kvm>
UPDATE: On qemu 4.0 using the q35 chipset, you also need to add <ioapic driver='kvm'/> to the <features> section of your xml
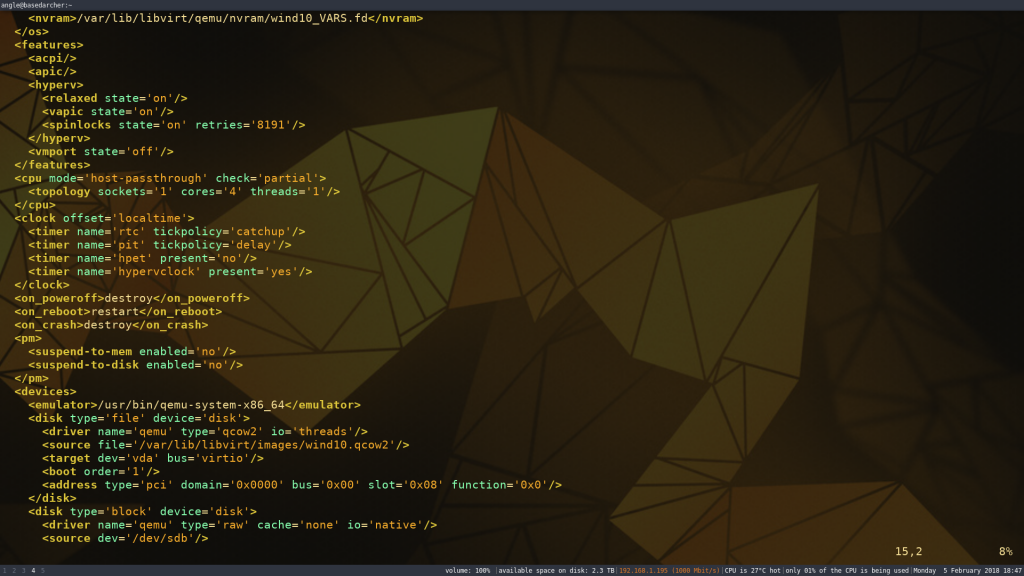
(Before)
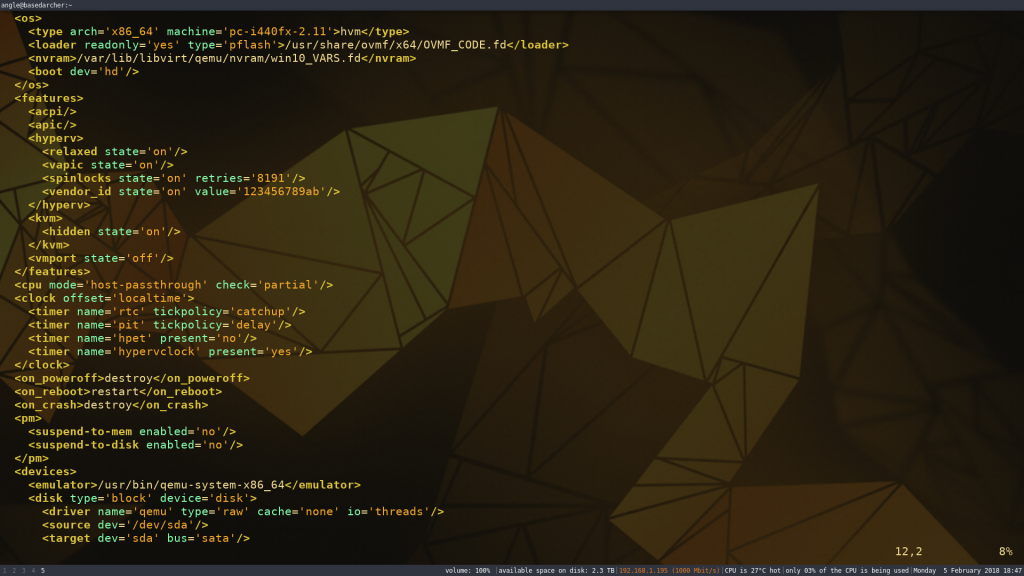
(After)
save the xml file and exit out of your text editor.
you can restart libvirt, in case the change doesn’t take effect, using:
sudo systemctl restart libvirtd
Applying the Workaround: Virsh-Patcher
Easy as the manual method may seem once you’ve gotten it to work, there is an easier to way to achieve the same result as above. Our virsh-patcher package, available on our github, facilitates the application of this workaround. The use of a more friendly user interface is more appealing to those not familiar with a command line.
you can launch it and apply the fix using:
sudo virshpatcher --error43 --vendor-id 123456789ab win10
Of course, swap out win10 with the name of your virtual machine.
The owners of consumer nvidia cards can enjoy a virtualized gaming experience with a few simple tweaks, and while the error 43 workaround resembles a hack, without official support it’s all we’ve got. So, go ahead and apply the fix without fear and keep on gaming.
Discuss this subject and join the conversation about VFIO in our Discord server and play on our Steam Group with other VFIO enthusiasts!
Featured image courtesy of PixaBay