A lot of Linux enthusiasts would like to get into VFIO passthrough gaming, but the proposition can get daunting quickly — Getting the wrong hardware or trying to work with a generalized build you already have can throw up roadblocks, and in a lot of cases, those complications drive newcomers to the practice away.
Please read our Affiliate link Disclaimer
Misunderstandings in the early stages of setup lead a lot of would-be VFIO gamers to believe that you need server or enterprise hardware to make VFIO work properly, or that the performance problems are so severe that it isn’t worth doing anyway.
While this isn’t the case, ill-defined compatibility guidelines and poor documentation do a lot to help propagate the myth that VFIO for gaming is ‘too hard’ or ‘vaporware.’
VFIO Gaming Can Be Easy
The goal of this build guide is to help people thinking about building a VFIO gaming rig, or people that have a machine they want to make more VFIO compatible, make the right part choices, even on a budget. Convenience and VFIO compatibility are prioritized over pure price to performance, and we realize that with some tweaking and workarounds, you can get other hardware working pretty well, too.
That’s outside of our scope here, though. This build is about making VFIO gaming as hassle free as possible from the ground up, for under $1,000. (All prices listed at the time of writing, and are subject to change.)
So, without further ado, let’s get into our parts, and the rationale for each of them:
Motherboard: ASRock Fatal1ty Z370 Gaming K6 — $179
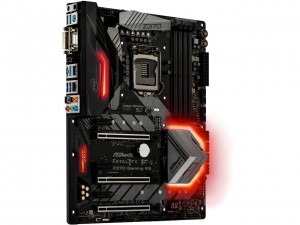 One of the most important parts of building a VFIO machine is proper IOMMU groups — without them, you’re left shuffling around expansion boards, patching kernels, and attempting all manner of jury-rigging to get your setup working.
The Gaming K6 is on the expensive side of the Coffee lake spectrum, but it has all the features you’re likely to need, and it comes with a full compliment of PCIe Isolation, which is critical for a VFIO Gaming rig. Less expensive options may be available, but this is the only board we were able to verify.
Editor’s Note: This motherboard is only appropriate for single dGPU VFIO setups. The z370 chipset has poor cpu lane isolation regardless or motherboard. If a second, host dGPU is desired, the X370 or x299 chipsets may be more appropriate, or the ACS patch will need to be used.
CPU: Intel i5-8400 — $199
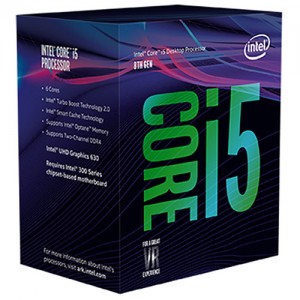
Enough cores for a respectable passthrough VM, and no need to patch the guest or host system to get it running well. There isn’t much else to say about this chip.
Yes, a B350 + Ryzen 5 combo may be more attractive for the price, but after you add up the cost of a host gpu, the time spent getting the host to boot properly with the display card in the wrong slot, patching the kernel (yes, a few distros use the kernel with the merged NPT fix, but not a majority of them) and possibly an RMA because of the Segfault issue, the value proposition becomes a bit of a wash.
We’re focused on convenience and compatibility after all, so the coffee lake hexacore was looking good from the get-go.
GPU: Asus Radeon RX 570 ROG STRIX 4GB — $229
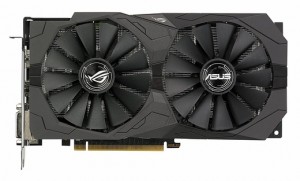 No, this isn’t the most powerful or glamorous card on the market. Yes, it is bug free and well balanced with the amount of cores you can pass through on the i5. Regardless of what brand you may prefer, or what power you want to extract from your VM, higher end consumer cards need workarounds in the guest and/or host to work properly.
Polaris cards might not be the fastest thing out there, but they make passthrough VM setup easier. If the extra 5-10 FPS or so is that important to you, I’m sure the workarounds are worth it, but for newcomers, it’s best to stick to what isn’t broken out of the box.
RAM: G.SKILL Ripjaws V Series 16GB (2 x 8GB) 2400 (or whatever’s cheapest) – $169
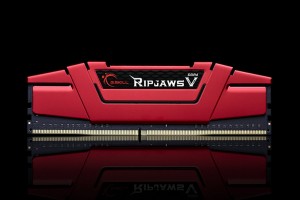 If we’re being honest, RAM prices are a bit outrageous at the moment. This particular component doesn’t really have much bearing on VFIO gaming compatibility, and Intel platforms aren’t as picky about their DIMMs as Ryzen systems tend to be, so this one’s pretty much up to you.
As long as you have enough to comfortably pass 8-12 GB to the guest while gaming, and it’s compatible with your motherboard, go with whatever costs the least at the time. There’s not a whole lot to gain from high frequency ram on a ‘budget’ system like this.
PSU: Seasonic S12II 80+ 620W — $45
— $45
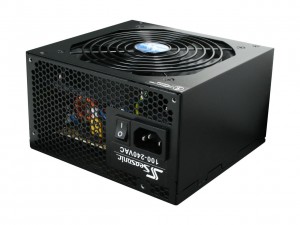 Another function over style choice here. Seasonic is the quiet mastermind behind many beloved PSU rebadges, and they’re well known for their reliability (among ODMs like FSP and Super Flower) in the enterprise sector. Realistically, you could run this build on about 430W, but this gives you some overhead if you want to pop in a better GPU or an i7 down the line.
Storage: Team L5 LITE 120GB SSD + Toshiba P300 3TB 7200rpm HDD — $39 + $69
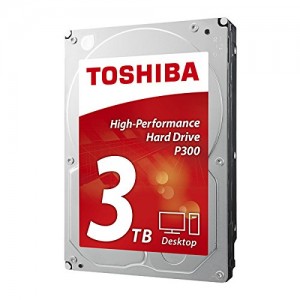
In the Quarterly reviews of hard drive failure rates done by Backblaze, Toshiba and Hitachi produced drives consistently survive longer than WD or Seagate, and right now Toshiba and Hitachi Drives are cheaper per gigabyte in most cases. Despite the mind-share of the ‘top’ brands, we think the value proposition of going with Toshiba or Hitachi is good enough to take the road less traveled.
As for the SSD, it’s just cheap, commodity flash with no history of catastrophic failures. It’ll make a perfectly adequate boot drive for the host, but it’s pretty much interchangeable with most drives in the price range. Consider getting a higher capacity SSD if you want to put your VM’s boot image on faster media. The motherboard has plenty of SATA connectivity, so grabbing another SSD or HDD to dedicate to your VMs later on is no big deal.
Case: Corsair 200R — $43
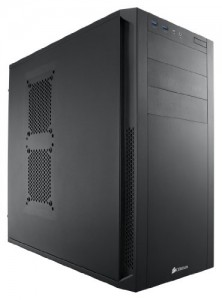 Cases are really a matter of taste, but the Corsair 200R is one of my favorites in the lower end price range, you get thumbscrews and solid tool-less assembly, a no-nonsense design language, plenty of room and cable management options, and solid, well finished construction for less than $50. While this part is interchangeable for whatever matches your aesthetic, I’d strongly recommend the 200R if you don’t know what to get or you’re a first time builder on a budget.
Build Summary
| Part | Price | |
| i5 8400 | $199 | |
| Asrock Fatal1ty Gaming K6 | $179 | |
| Asus Strix RX 570 | $229 | |
| 16GB RipJaws V | $169 | |
| Seasonic 620W | $45 | |
| HDD | $69 | |
| SSD | $39 | |
| Corsair 200R | $43 | Total |
| $971 |
With all our components selected, we should be about 30 dollars under budget. You could take the remaining dollars in your budget and put it towards a tower cooler, if noise is a big issue for you, or buy a few quality of life improving accessories, like a USB KVM switch or a USB HBA, for config-free input switching in your gaming VMs, or a USB audio interface for low latency VM audio. Either way, you’ve got a hassle free VFIO gaming rig, all said and done.
Discuss the merits and drawbacks of this build’s approach to convenience on our discord!
Photo courtesy Kyle Brennan