Due to certain recent developments, It’s become clear to us that it’s necessary to update and improve our OSX VM guide. A lot’s changed since we wrote it, and rolling in those changes will make the process much more user friendly and accessible to newer VFIO users.
So here’s part 1 of our attempt at making this process easier and more straightforward.
This site is ad-free and always will be. Consider supporting us on Patreon if you like our work and want to see more from us.
Prerequisites for a basic OSX VM
- A CPU supporting SSE 4.2 (most modern ones do)
- 64gb+ free space for VM image
- working basic knowledge of linux
Prerequisites For 3D Acceleration
- A Desktop with modern virtualization extensions and functional IOMMU
- Spare GPU to pass to the VM
- A linux install with a Qemu installation and configured to enable relevant platform features.
- If you want Mojave or future versions of OS X, you must have a 700 series nvidia GPU or an AMD gpu without the reset bug. (Generally 280X and older as long as they have a UEFI VBIOS)
Disclaimers and Warnings
- The vast majority of laptops won’t work, and using an eGPU to make them work is not covered in this guide.
- Using software acceleration and not doing passthrough will degrade performance to some degree
- No hackintosh project is update safe, and you will likely need to upgrade clover at points to maintain functionality.
- We do not condone software piracy. We don’t offer support for those who obtain commercial software through illegitimate methods.
- Pay attention to Apple ID related steps if you plan on logging in with a pre-existing account. Like any other hackintosh, you risk a temporary ban from apple if you don’t take proper measures.
Basic Setup
First, install a few prerequisite packages. You’re going to need qemu, python, pip, click, request, git, and all the relevant dependencies. So run:
##Arch-based distros:
$ sudo pacman -S qemu python python-pip git

##Redhat distros:
$ sudo yum install qemu python python-pip git

##Debian-based distros:
$ sudo apt-get install qemu python python-pip git
then install click and request:
# pip install click request
From here, you’re gonna need to use git to get the macOS-Simple-KVM repo from github:
$ git clone https://github.com/foxlet/macOS-Simple-KVM.git
$ cd macOS-Simple-KVM
$ ./jumpstart.sh
Make sure to do this in a working directory where you want the VM files to live. The jumpstart script defaults to 10.15 Catalina. If you would rather install mojave, or high sierra, just run it with the corresponding argument, e.g. ./jumpstart --high-sierra, --mojave, or --catalina
The jumpstart script should make the recovery media for your VM to install from. After it finishes, simply create a qcow2 image by running
qemu-img create -f qcow2 MyDisk.qcow2 64G
and adding these 2 lines to the end of the included basic.sh script
    -drive id=SystemDisk,if=none,file=MyDisk.qcow2 \
    -device ide-hd,bus=sata.4,drive=SystemDisk \
where MyDisk is the name of your image.
You may also want to change the mac address listed in line 23 (-device e1000-82545em ...) of ./basic.sh at this point to avoid Apple ID issues, as the provided one is not unique. a new mac address can be generated easily by running openssl rand -hex 6 | sed 's/\(..\)/\1:/g; s/:$//' and pasting the output into the mac= argument. You can also just generate a new mac address in the virt-manager GUI at a later stage (don’t log in in the meantime.)
From here you can boot your new VM by running ./basic.sh.
Basic Installation
Your vm should, after a short while, boot into clover, and then an OS X recovery partition. From here, click “Disk Utility” and format the image you created using the “Erase” button. Be sure not to format the recovery disk or the small partition labeled ESP.
After that, exit disk utility and click “reinstall OS X.” Follow the prompts and grab a coffee. This bit can take a while.
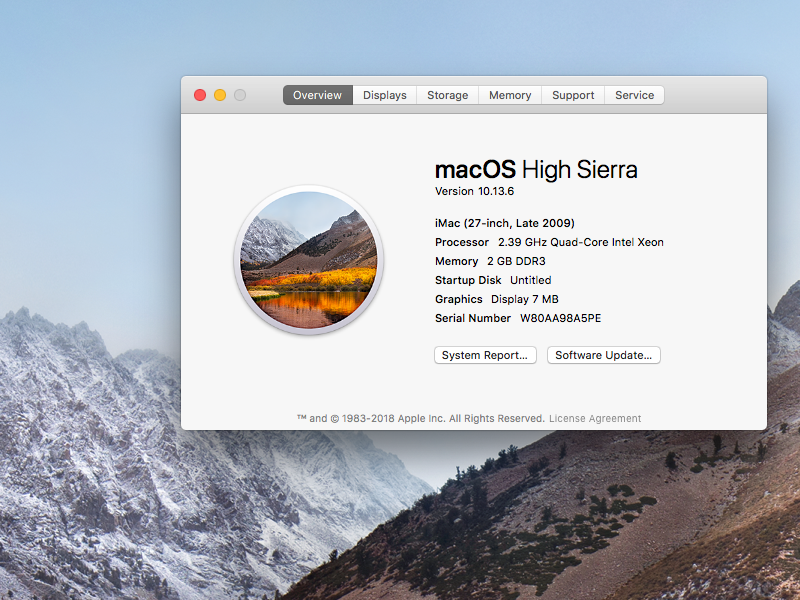
Hopefully by now, you have a basic working OS X VM.
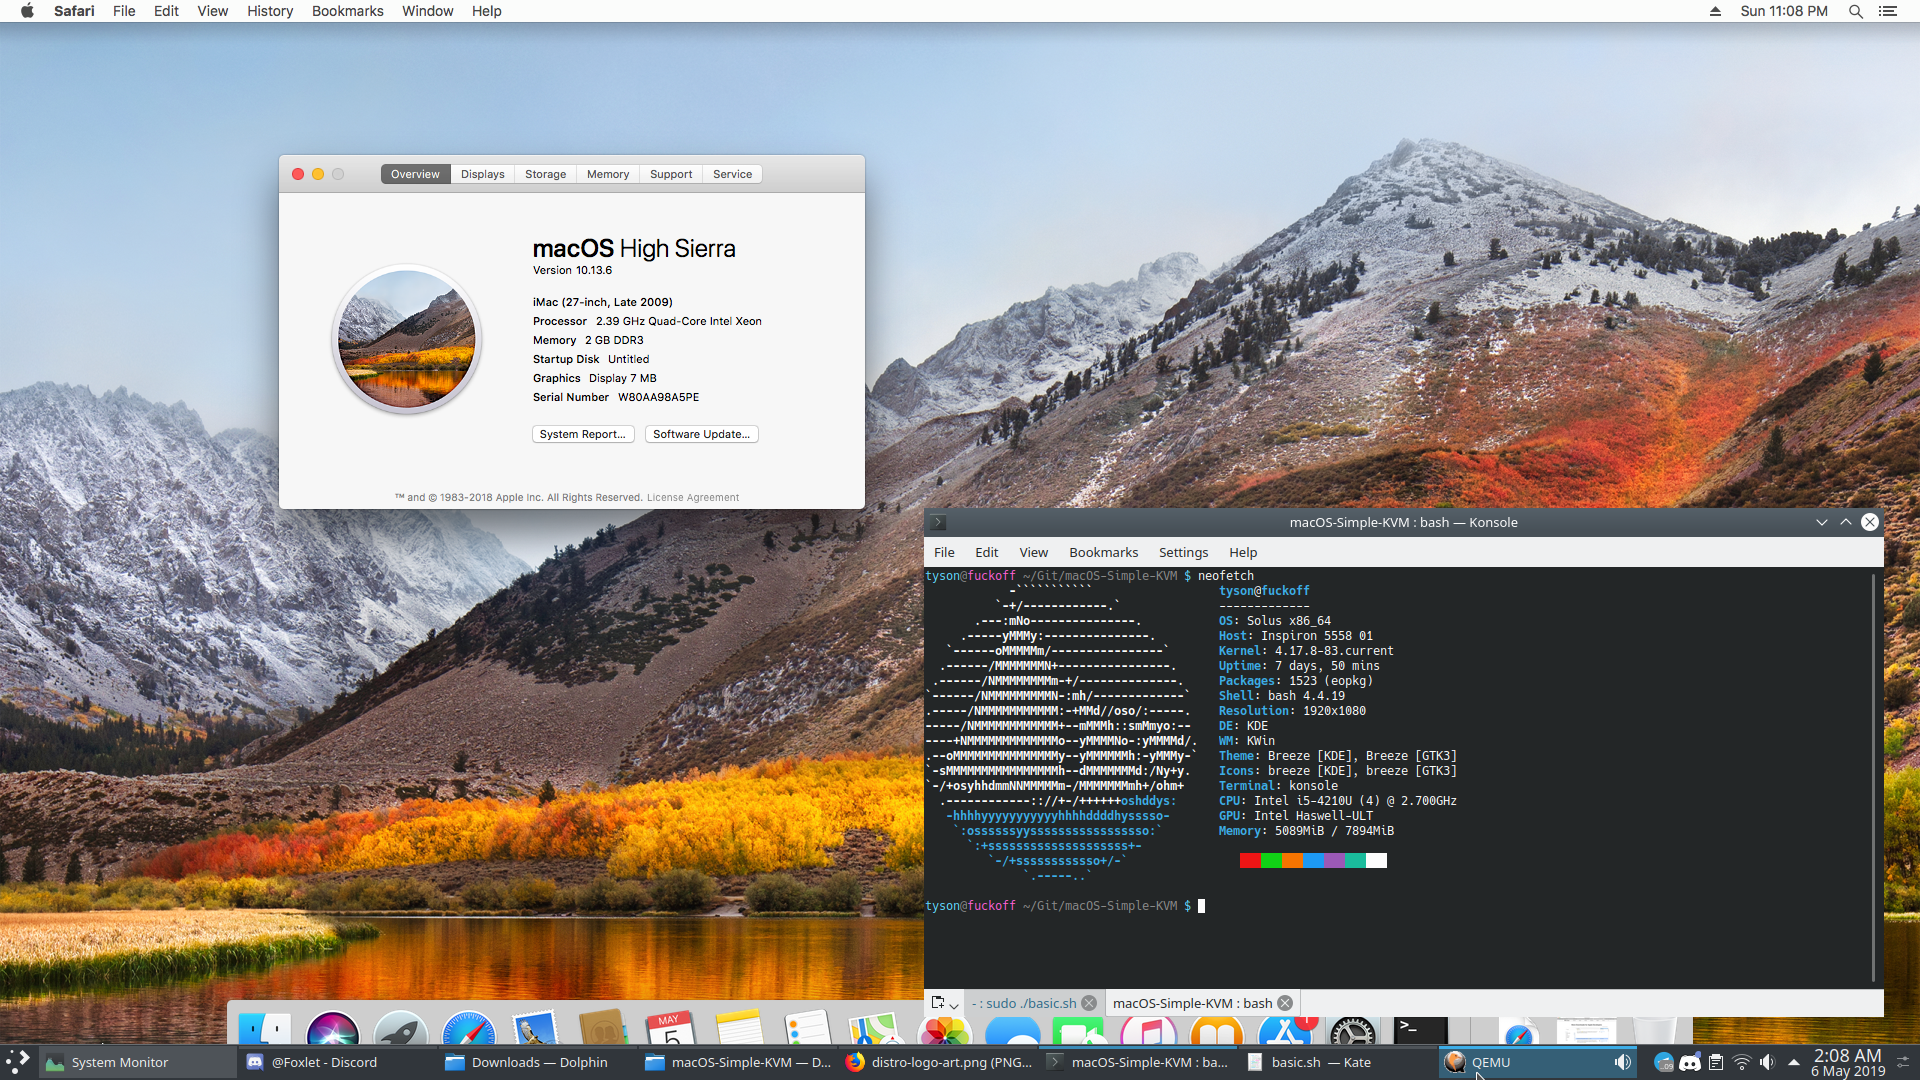
OSX VM running on my modestly spec’d Laptop
From here, there are a few common tweaks you may want to do to improve performance and useability:
Change VM Resolution
Once you’re in the VM, you can change its resolution by editing config.plist in the clover ESP.
Start by copying ESP.qcow2 and renaming the copy something like ESP.qcow2.bak. Do the same for the firmware folder.
From there, boot into the VM, open a terminal and run sudo diskutil list. The 256MB disk is the one you want. Mount its first partition by running sudo diskutil mount diskXsY (where X and Y are the disk and partition numbers)
Open finder, navigate to “EFI” in the left bar under volumes, navigate to the clover folder, and open config.plist. There should be a section of this file that looks like this
<key>ScreenResolution</key>
<string>1280x720</string>
Change this value to your desired resolution, e.g. 1920×1080. Note that some odd/intermediate resolutions like 1366×768 may not work well. Try to stick to more common 16:9, 16:10 and 4:3 form factors.
Increasing CPU/Memory
This process can increase overall performance if you have more than the default resources available to you. For memory, simply change the -m 2G \ line in basic.sh to a higher value. For CPUs, replace -smp 4,cores=2 \ with -smp cpus=X,cores=X,threads=1,sockets=1 \ where X is the number of threads you want to pass through. If you want to pass more than 8 threads, add to the number of sockets for every 8 cores as well. When and if you switch your configuration to virt-manager, DO NOT change the thread topology or model settings via the GUI. This can cause issues with clover and the boot process. If you do need more cores, just virsh edit and follow the same rules as above and do not change the cpu model type.
Switching to Virt-Manager
This will give you a GUI to launch and manage your VM with, making other adjustments and customizations easier. You’ll also need this for part 2 of the guide. Just install virt-manager and you can get started.
First things first: back up your ESP image and firmware folder as described in the resolution change section. Boot your VM, and press escape at the first UEFI dialog. Type exit, hit enter. This should bring you to the OVMF configuration menu. Navigate to Device Configuration > OVMF Platform Features, and set the resolution to the same value as your VM resolution. If you did not change your VM resolution, set it to 1280×720. Hit f10, Y, then press escape until you’re in the main dialog. hit continue and boot into the VM. Shut it down fully, then Boot again to make sure the change didn’t cause any issues.
Next, enable libvirt by running systemctl enable libvirtd.service virtlogd.service and systemctl start libvirtd.service and virtlogd.service. Open virt-manager and make sure you see Qemu/KVM in the connections window. Double click the connection and check the value for Virsh URI. If it’s qemu:///system then run every virsh command mentioned here with sudo.
Download the generic XML we provide here. Find and replace all instances of YOURPATH with the absolute path that corresponds to your VM’s firmware and image files. After you’ve edited the xml, run virsh define OSX.xml (use sudo if your URI is qemu:///system instead of qemu:///session) in the same working directory you saved your XML to.
Restart Libvirt by running systemctl restart libvirtd.service virtlogd.service and open up virt-manager. You should have a VM named OSX under the Qemu Connection in the main window.
If you’ve already extensively customized your qemu script, you can run ./make.sh --add. This script is included in the repo. Edit the XML before defining, using uuidgen to create a new UUID to avoid issues with apple ID. The xml we provide will do so automatically.
If you get network startup errors, simply remove the NIC device in virt-manager and re-add it, manually specifying the device type to e1000-82545em. This should also generate a new MAC address. On Arch, you may get an error like:
could not start virtual network, 'default'. Internal error: firewalld is set to use nftables backend, but the required libvirt zone is missing. Either set the firewalld backend to iptables or ensure that firewalld has a 'libvirt' zone.
To fix this, install ebtables and dnsmasq and try again.
Some distros (e.g. manjaro) come with badly configured or incompatible firewalls too. If you get an error saying NAT failed to connect or that the default virsh network is inactive, and running virsh net-start default doesn’t resolve the issue, you should try manually setting FirewallBackend= in /etc/firewalld/firewalld.conf to iptables
If you get Permissions errors related to your qcow images on boot, simply remove the affected qcow images and re-add them as sata devices. Virt-manager will ask if you want it to fix the permissions. Click yes.
If you get an error on startup similar to Error starting domain: path /dev/dri/bypath/pci-0000:00:02-0-render is not accessible. No such file or directory and you created your XML with ./make.sh --add, then it may have erroneously assigned a device to your qxl graphics. Simply edit your XML with virsh edit and remove the entire line containing that entry.
Troubleshooting
Qemu refuses to start after running basic.sh:
Check to make sure you have all dependencies installed. You have to manually install packages like virglrenderer and spice on some distributions. If your error includes unknown attribute type for SMBIOS, then your version of Qemu isn’t recent enough to support this project. You can try updating it by compiling a more recent version yourself or installing it through a 3rd party repo. The oldest version to support this feature is 2.8.
The Installer doesn’t have any listed hard drives:
Make sure you generated your qcow image, added it to basic.shand formatted it to hfs+ in Disk Utility before starting the installer.
Installer fails with “Failed to Contact Validation Server”
Check your internet connection and firewall settings and try again. If it still doesn’t work, make sure your system time is correct.
UI is tiny:
You can change your VM resolution to a better supported one in the ESP, like 1920×1080, or use a tool like Enable-HiDPI-OSX to regain scaling functionality.
Part 2 of this guide covers GPU and Device Passthrough, CPU and IO optimizations, as well as other ways to improve your virtualized OSX experience. Special thanks to Foxlet for providing most of the groundwork for this new guide.
Consider Supporting us on Patreon if you like our work, and if you need help or have questions about any of our articles, you can find us on our Discord. We provide RSS feeds as well as regular updates on Twitter if you want to be the first to know about the next part in this series or other projects we’re working on.