The KVM-based hypervisor space is maturing into versatile ecosystem. For example, a lot of options exist as far as front-ends go — like Virt-Manager, or Proxmox. Each one with their own merits and disadvantages, fight for a segment of the market. Today We’ll be trying a relatively new and somewhat obscure KVM Frontend: oVirt.
The organizational structure of oVirt deals with the oVirt ‘Engine,’ and oVirt ‘Nodes’. The Engine exists to tie things together and manage them. On the other hand, Nodes are where the virtual machines run. This design differs from proxmox, as each unit isn’t also a management platform. Each of the two, has its own minimum hardware specifications. I would recommend structuring your setup to adhere to them. (Word of warning, I did have setup fail because one of my hosts had less than the recommended amount of ram.)

Setting Up the oVirt Engine
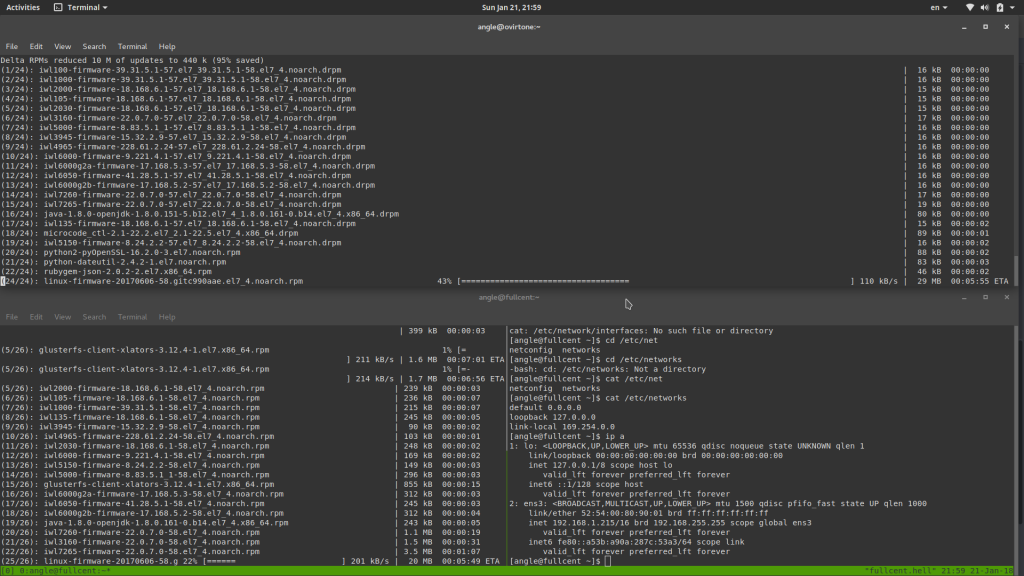
At the time of writing this article, the latest production release of oVirt is 4.2.0. So, let’s start by setting up an Engine. First off, install CentOS 7(or RHEL) and make sure it’s updated:
yum -y installFollowing that, add the required repository:
yum -y install http://resources.ovirt.org/pub/yum-repo/ovirt-release42.rpmand install the oVirt engine:
yum -y install ovirt-engine Next up is the actual engine setup. The command is really easy:
engine-setupAfterwards, it’s a simple matter of answering the on-screen questions and the Engine setup is complete. A small problem I encountered was that there is an error prompt when logging in to the administration panel. The workaround for it is as simple as creating the file:
nano /etc/ovirt-engine/engine.conf.d/99.sso.confand add the line:
SSO_CALLBACK_PREFIX_CHECK=falseSetting Up an oVirt Host: oVirt Node iso
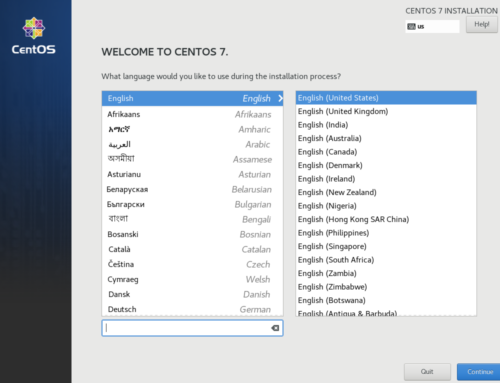
In terms of Nodes, there are two ways of going about installing one. There is the Node iso and then there is the possibility to install the vdsm package on CentOS 7. The oVirt Node iso is simpler overall and shortens the setup process, this is the one I went with. Go through the install process, it’s the same as CentOS 7, no biggie. When it reboots, everything should be functional but it doesn’t hurt to update:
yum -y update
The end result is a functional Node with minimal effort.
Setting Up an oVirt Host: Manual Way
If customizability and full control of the setup procedure is a priority then manual install is preferable. The following commented set of commands should result in a Node ready for action:
#first, updates
yum -y update
#next, adding the oVirt repository
yum -y install http://resources.ovirt.org/pub/yum-repo/ovirt-release42.rpm
#installation of the vdsm package
yum -y install vdsm
#ready to roll
Management Interface
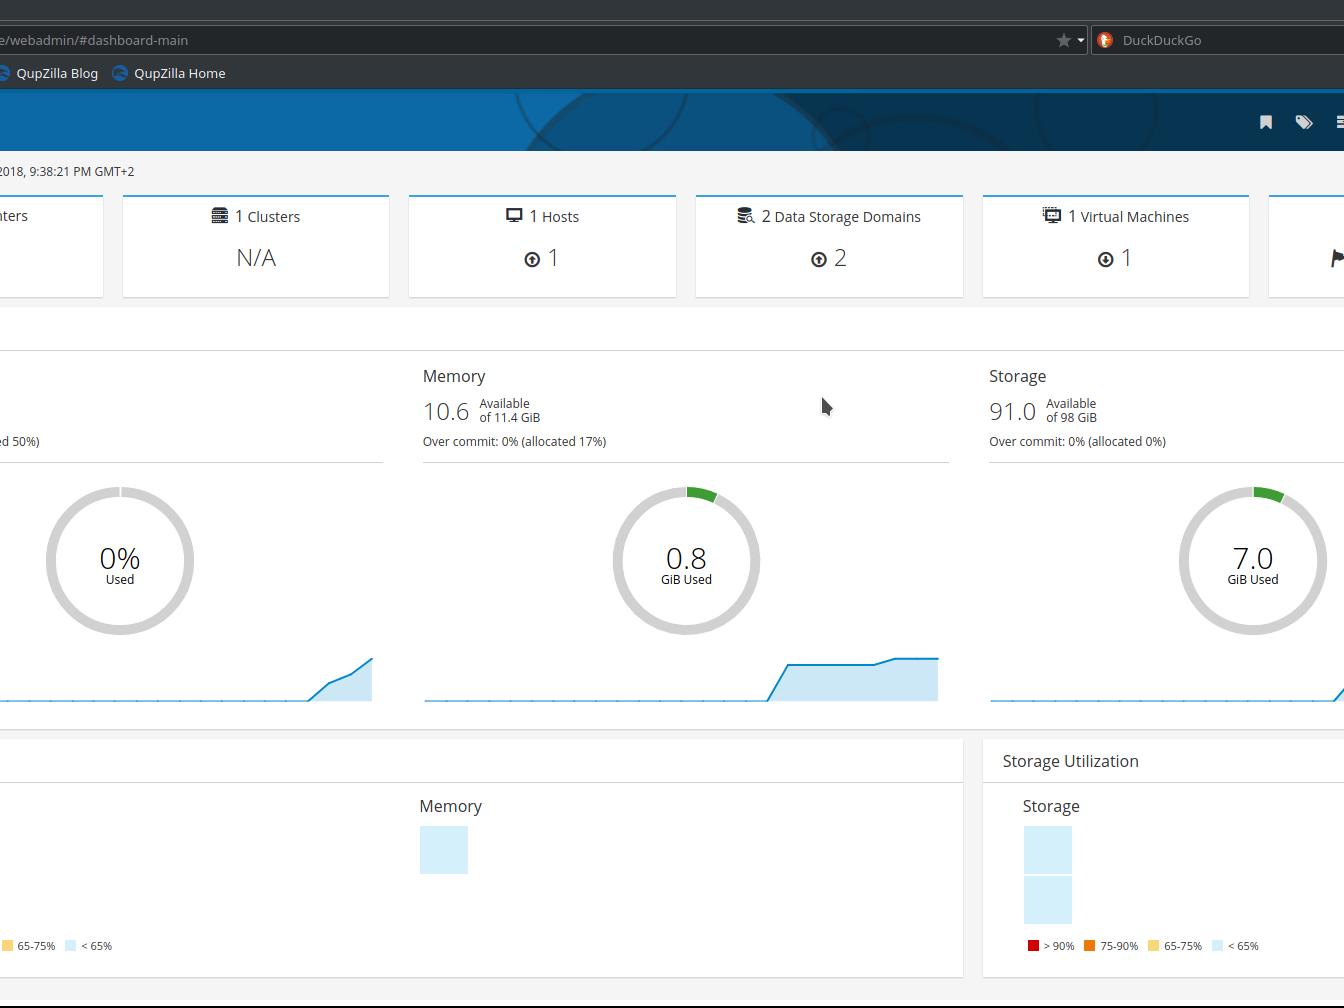
oVirt’s management happens through a web user interface. Open a web browser and go to IP address of the Engine. Next, click on the administration portal and use admin as the username as well as the password you chose during the Engine’s setup. After that, it is up to you, the user to decide how you want everything configured. Things such as network, storage, operating system images, are up to the user to set up and can fit many workloads. The really good documentation, available on the website, should give an intermediate Linux user a good understanding. If you’re in the mood for something new, give this a try. For those that want to set up VGA/PCIe passthrough on oVirt’s interface, this page a once-over.
If you have questions or have setup you’d like to share, start a discussion on our discord server.
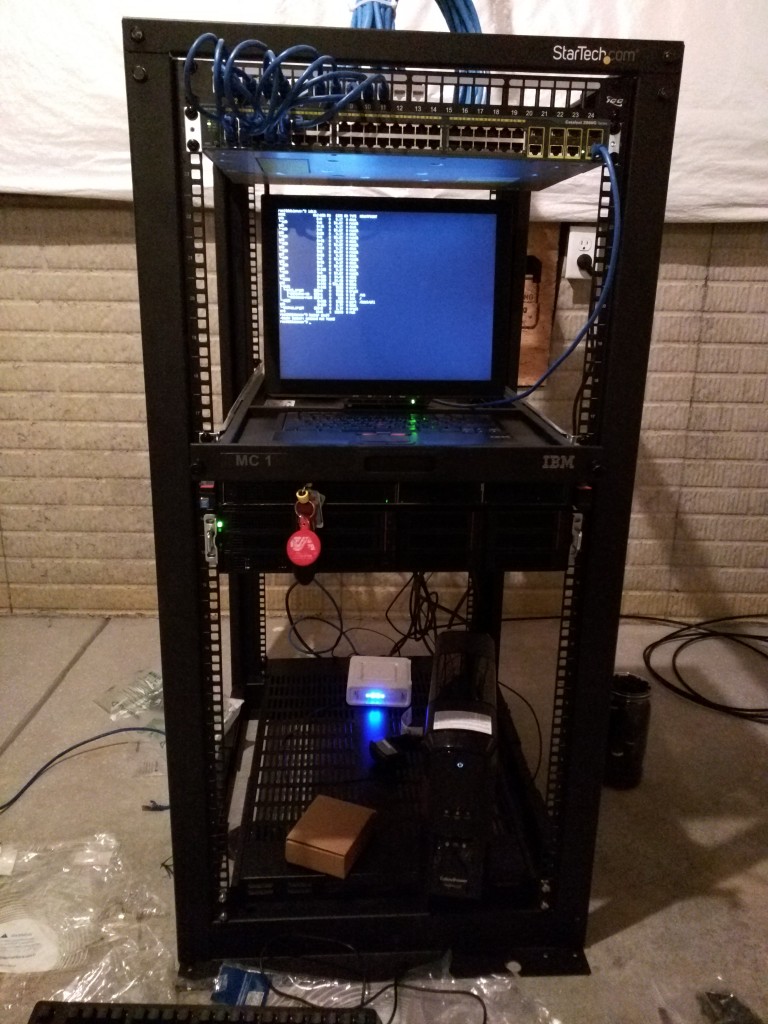
Photo courtesy Blake Lee


